Assignment 3: Hold Your Ground!

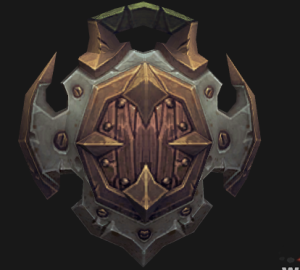
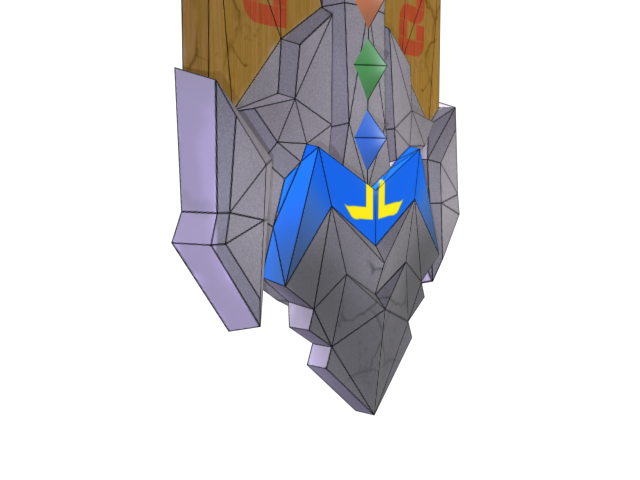
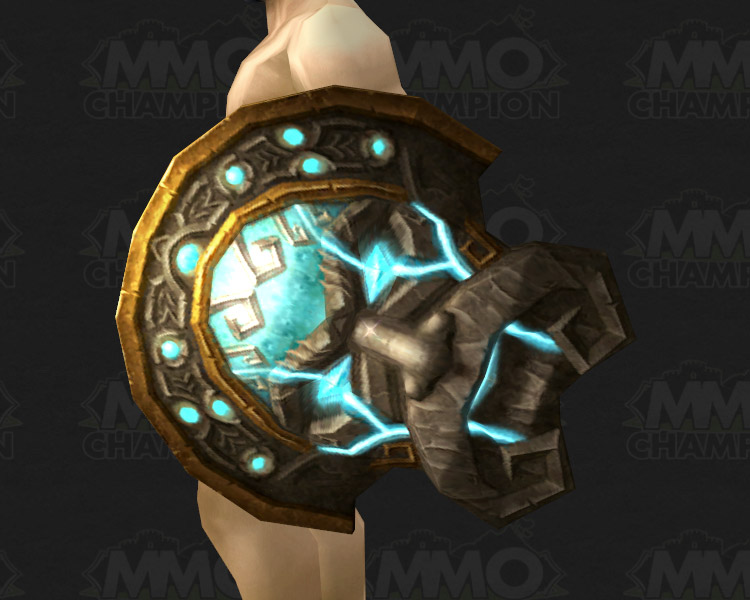
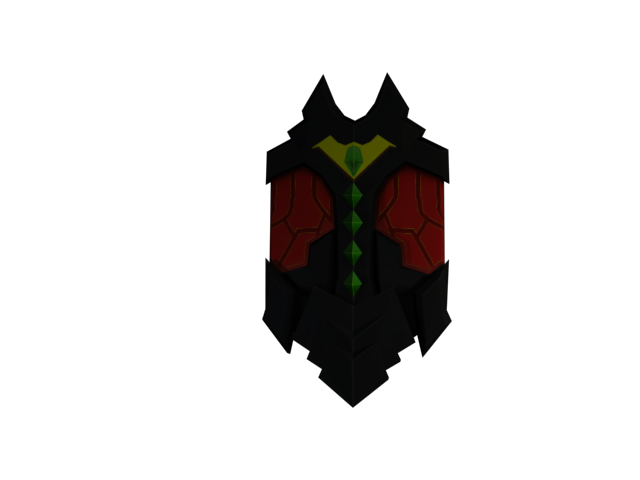
Using this shield as a base…

shield_truth

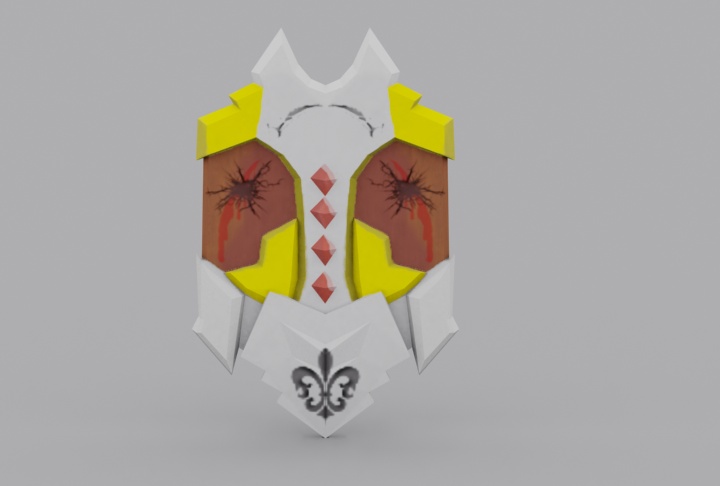
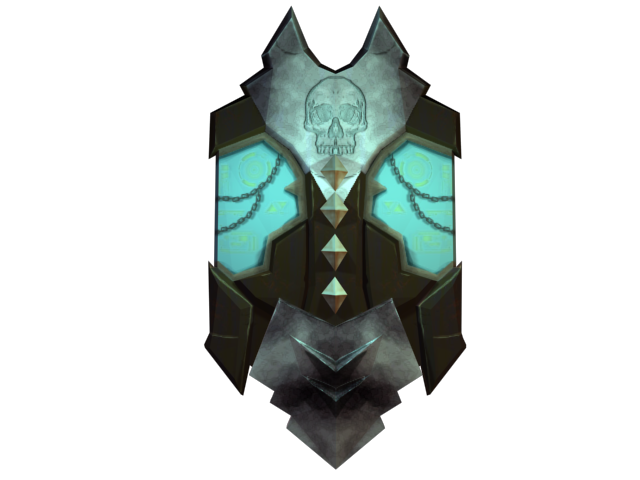
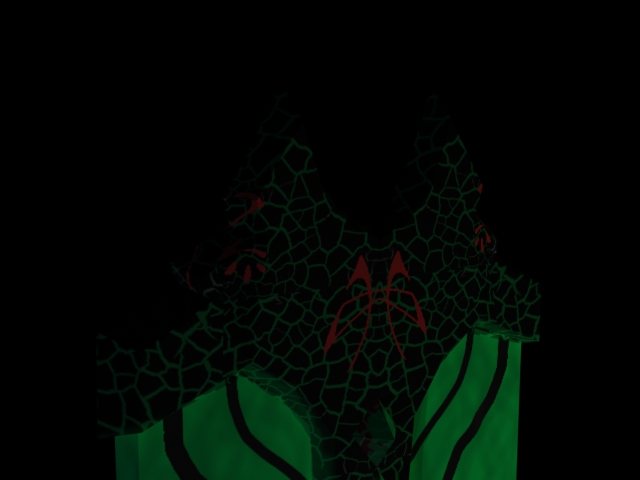
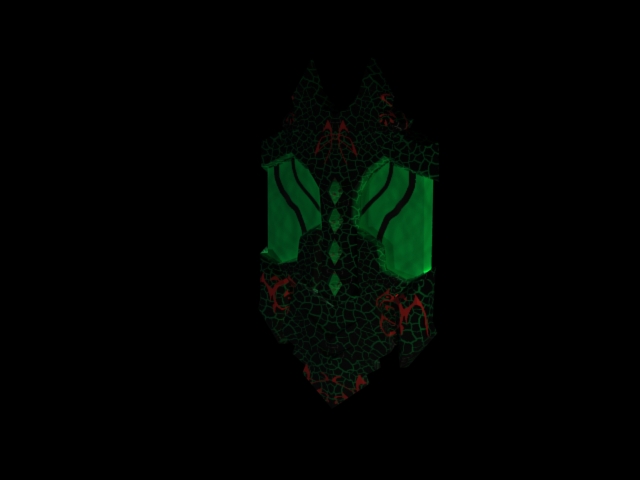
I textured the base that we were given to a similar style. And to that extent, It turned out a little like this…

shield_render_01shield_render_02

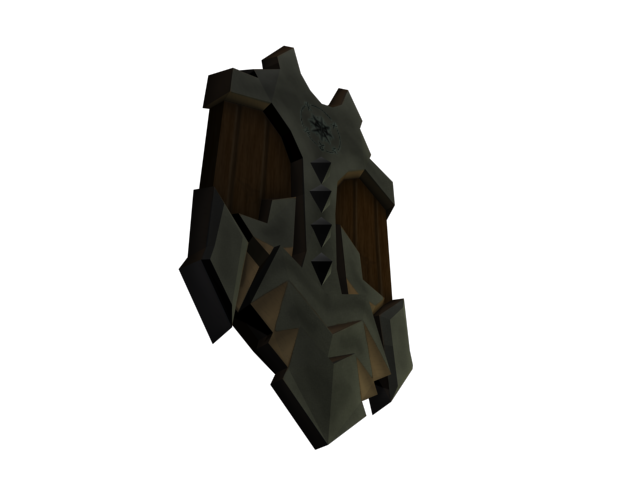
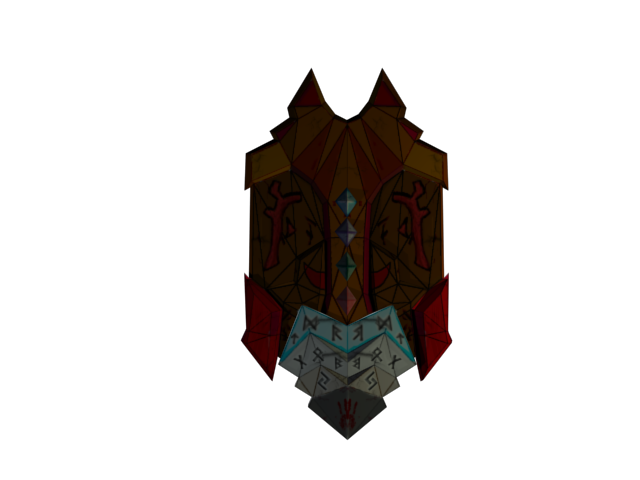
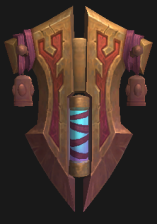
I kept to a similar theme, using wood, bronze plating, and what looks to be something like stone. At the top of the shield there is a circle glyph, using a few brushes that I found over the internet. These might not be the best images, but when rendered out in both Max and in UDK( with help), they looked very promising. The shield base that I chose was the third in a list of three of what I would texture it as. I came to this version because out of everything I was to do, I wanted to use a wood texture to break u[ all of the metal. The most difficult part of the teaxturing process was working in the shadows, which rather than using an Ambient Oclusion map, I painted in using a grey scale in photoshop. Still, this was quite an enjoyable experiment in texturing.

Assignment 3: Hand Painted

1

2

I based my shield a bit on one that was given. I wanted it to have a wooden look of dark and light. The runes and colors I wanted to give off a magic variety but to have a somewhat tribal look by the red hand print at the bottom and symbol and horn like symbol on the sides.  The red and brown are suppose to be repetitive and theirs colors are meant to look worn and aged as well as the small details like the cracks in random places and darken blood like smears in other sections. Overall I wanted the shield to look like it had been through a rough journey but is sturdy looking enough to take on many more.

This was my reference:

shield_masterlight


Assignment 3 Shield

Render2

Render1

My shield process began with a flat layer where I put all the base colors down, the grey metal, the brown wood, and the purpleish hue on the edge of the metal. Everything else branched off from that. I utilized a lot of transparencies and turned the opacity way down when adding more colors. The cracks and the symbols all came from Photoshop brushes. I wanted to go for a very plain-looking shield, more practical than ornamental. The multicolored gems, in my mind, are designed to give the shield (and therefore the player) a variety of enchantments. This is why they are all different colors, they are meant to be swapped out and customized. The metallic portion and wooden portion are basic textures following the instructions we learned in class.

Assignment # 3: BUt Rob, My hand is too cramped to Paint!!

For my Shield I wanted to make it A mix of ornate and functional. the theme I wanted to go for was a shield that was used by Royalty. the brushes I used to create this theme was a coat of Arms set and a Fleur de Lis set,  a blood set, and two different sets of cracks, one for the metal and one for wood, all of which came form deviantart. I designed the shield to make it look like it was built on a wooden frame, and then the metal set on top of the wooden frame. The wood was from a texture I made earlier this week, with a darker burgundy color with a low opacity brush painted on top to make it look like a dark wood like Mahogany. The metal I painted with yellow and gray to give it the gold and steel/silver look, and added darker values to give shadows and depth. The gold accents I used a bright yellow with a darker, mustard yellow for shadows, and for the steel and silver I used varying amounts of gray.  On the back of the shield is a Coat of arms which would be shown for decorative purposes, but the front is where all the wear and tear is. the wood has blood stains on it, the wood is cracked where an arrow would have pierced it, the cracks in the metal would be where swords (or other shields) have clashed against it.

Shield render_01 Shield render_0298843

Assignment 3 Hand Painted


I added some updated pictures of my renders!

On my shield I used filters and difference clouds along with lighting effects in order to create the shadows that I wanted for the assignment.  I also used some hand painted elements for the spikes and small strokes for the spikes of blood as well as the shield.  I was going for

a polished shield that was barely used in battle.  I wish I had a tablet and then I could add alot more detail to give it a personal touch.shield1 shield2

the shield

aquamansnitehawksupermans

my sheilds took inspiration from the glowing parts of one of the sheilds. the superman shield took me the longest i blended a lot of the colors. it was quite difficult considering i had to use a mouse to do it. the middle part alone took me about 2 hours to complete but they all were based off of heroes in Dc comics. the jewels in the middle all glow as well as all the symbols. i hand painted the cracks and scartches in the aqua man and superman. the blood, bullets, jewels, symbols, and writing were all brushes i made.ulduar_shield_13 this is where i got my inspiration from i couldnt make the face but the glowing  jewels and stuff is what i could do.

Assignment 3: Hand Painted

a href=”https://iadtgame225.wordpress.com/wp-content/uploads/2013/02/shield_side1.png”>Shield_Side
Shield_Front

This is the shield that I did, I was inspired by one of the shields that was given. To start off, the inside of the shield I wanted to make something that looked like a computer with glowing symbols inside. I also added to omni lights to give it that glowing affect. For the brushes I used the chain and the symbols inside. Then I put a wooden border around that and gave it a bevel and emboss to make it look 3D. For the top and bottom I was going to make a metal plate but ended up with that instead, I think it gives it a little more color. For other brushes I used one for the skull, the cracks in the shield and twig brush to give another look of cracks.
This is my referance picture.
shield_wrathful

Assignment 3: Hand Painted

Render 22 Render12

My shield turned out pretty terribly. I took the design of the Sword Breaker’s Bulwark and tried to give this shield the same feel but failed pretty miserably. I didn’t have a lot of time to work on it, not to mention this is my first time ever trying to digitally paint. I also hadn’t seen the links in the blog post for the YouTube videos. I intend to keep this and keep working on it to use it as practice. I didn’t find any uses for any of the brushes I downloaded, but I still included the brushes I found in the file I turned in.